Clearing out your yard can feel like a big project, but with the right approach, it becomes a manageable—and even enjoyable—task. Whether you’re tackling a messy garden, an overgrown lawn, or years of accumulated outdoor clutter, having a plan makes all the difference. Here’s a step-by-step guide to help you transform your yard into a clean and inviting space.
Table of Contents
- 1 Step 1: Rent a Dumpster or Roll-Off Container
- 2 Step 2: Make a Clear Plan of Action
- 3 Step 3: Sort and Separate
- 4 Step 4: Start with Large Debris
- 5 Step 5: Prune, Trim, and Weed
- 6 Step 6: Mow and Edge Your Lawn
- 7 Step 7: Compost What You Can
- 8 Step 8: Clean and Organise Outdoor Spaces
- 9 Step 9: Add Finishing Touches
- 10 Keep It Looking Great
- 11 Your Fresh Start Awaits
Step 1: Rent a Dumpster or Roll-Off Container
One of the most efficient ways to handle yard waste is by renting a dumpster or roll-off container. These are ideal for collecting all kinds of debris, from branches and weeds to broken outdoor furniture and construction materials. Renting one saves you the hassle of multiple trips to the tip or local disposal site. Read on Waste Removal USA about the different dumpster sizes and options available to make your clearout as efficient as possible.
Things to consider when renting:
- Size: Choose the right container size based on the scale of your project. For larger jobs, a 20-yard container might be necessary, while smaller ones can handle light clean-up.
- Local regulations: Check with your council or waste management service to ensure compliance with disposal rules in your area.
- Placement: Plan where to position the container for easy access without obstructing driveways or pathways.
Step 2: Make a Clear Plan of Action
Before diving in, take a few minutes to plan your approach. This will save time and energy and ensure you cover everything that needs attention.
Key areas to focus on:
- Identify problem spots: Are there overgrown shrubs, piles of old leaves, or cluttered garden beds? Prioritise these areas first.
- List your tools and supplies: You’ll likely need rakes, gloves, pruners, garbage bags, and maybe even a wheelbarrow.
- Set a timeline: Divide the work into smaller tasks to avoid feeling overwhelmed. For example, spend one day trimming trees and bushes and another removing clutter.
Step 3: Sort and Separate
Not all yard waste is the same. Sorting it into categories can make disposal much easier and more eco-friendly.
Common yard waste categories:
- Organic materials – Grass clippings, branches, leaves, and garden trimmings can be composted or disposed of as green waste.
- Non-organic materials – Old garden furniture, broken pots, or other items that can’t decompose go into general waste or recycling bins.
- Hazardous materials – Paint cans, chemicals, or treated wood should be disposed of at specialised facilities.
Step 4: Start with Large Debris
Always tackle the biggest and bulkiest items first. Removing large objects, such as old furniture, tree limbs, or broken fences, clears up space and makes the rest of the clean-up feel less daunting. For tree branches and heavy items, consider cutting them into smaller, more manageable pieces.
If you’re dealing with trees or extensive overgrowth, renting tools like chainsaws or hedge trimmers might be necessary. Be sure to wear proper safety gear to avoid injuries.
Step 5: Prune, Trim, and Weed
Once the large debris is out of the way, focus on tidying up your plants and lawn. Pruning overgrown shrubs, trimming hedges, and pulling weeds will make a noticeable difference in your yard’s appearance.
Tips for effective pruning:
- Use sharp, clean tools to make precise cuts.
- Remove dead or damaged branches first.
- Step back periodically to assess the shape and symmetry of your plants.
For weeds, consider using a weeding tool to get them out by the root and prevent regrowth.
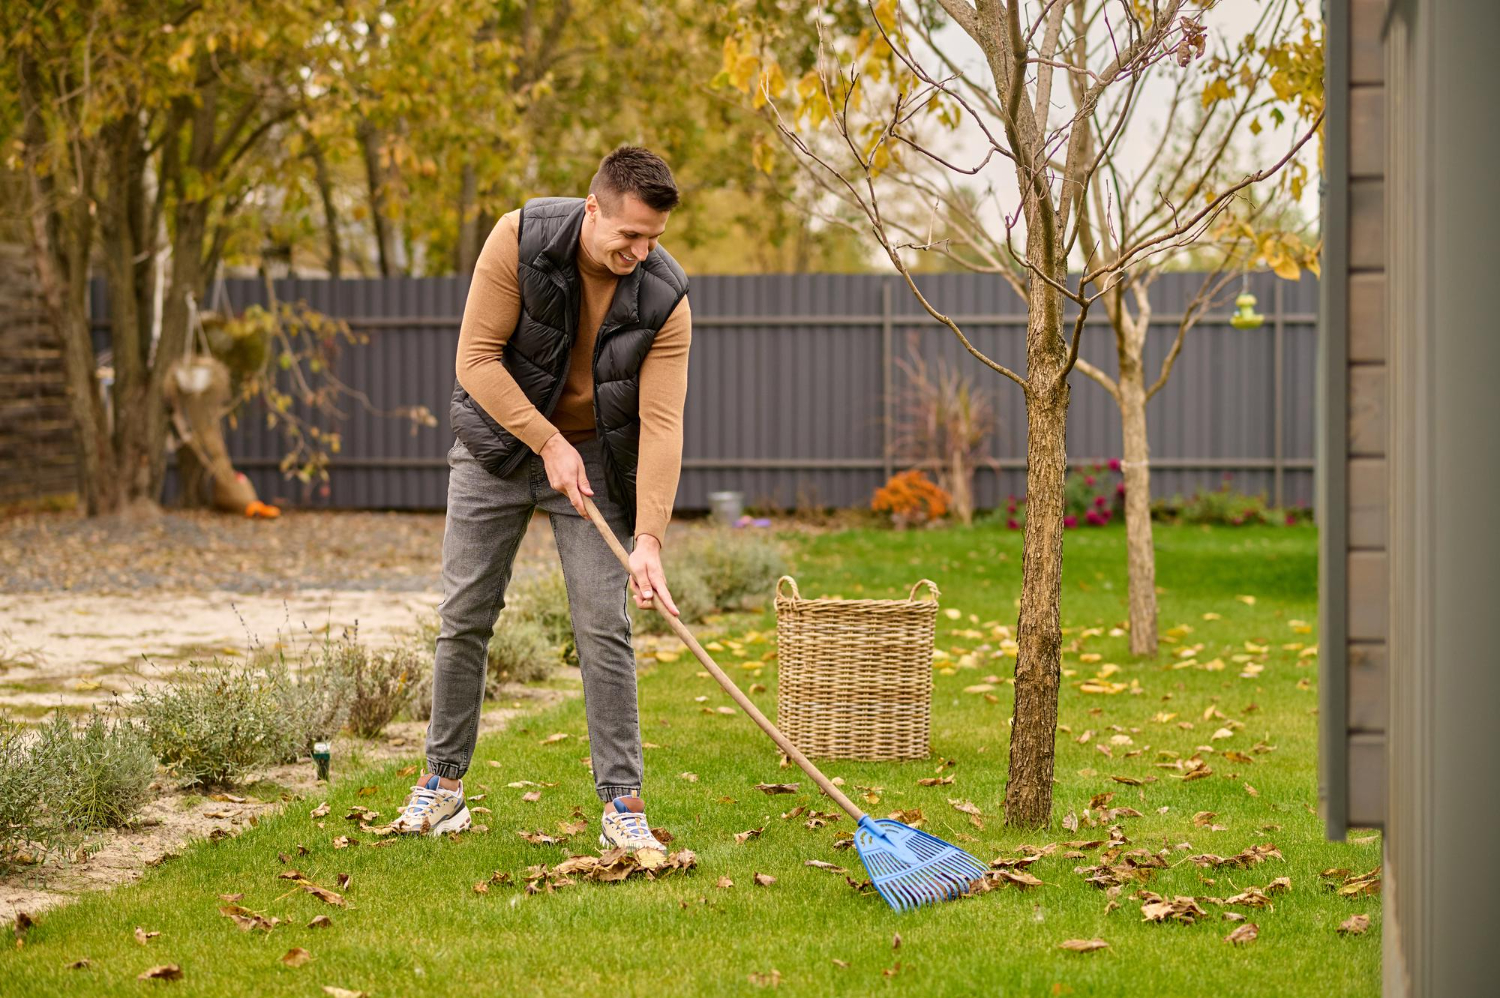
Step 6: Mow and Edge Your Lawn
A freshly mowed lawn instantly elevates the look of your yard. Before mowing, clear any remaining small debris like twigs or stones that could damage your mower. Once the lawn is cut, use an edger along pathways, driveways, and garden beds to give everything a polished finish.
Step 7: Compost What You Can
Composting is a great way to handle organic waste while benefiting your garden. Set up a compost bin in a corner of your yard and start with leaves, grass clippings, and small branches. Avoid adding weeds with seeds, as they could sprout in your compost later.
If composting isn’t an option, check if your area offers a green waste collection service or drop-off points.
Step 8: Clean and Organise Outdoor Spaces
With the heavy lifting and yard work complete, it’s time to tidy up. Sweep patios, decks, and pathways, and remove any lingering clutter. Store gardening tools neatly in a shed or garage, and make sure any outdoor furniture is clean and ready for use.
Extra tips for organisation:
- Use wall hooks or shelves to maximise storage space in your shed.
- Invest in weatherproof storage bins for cushions, small tools, or kids’ toys.
Step 9: Add Finishing Touches
Now that your yard is cleared and clean, consider adding small improvements to make it more inviting. Plant a few colourful flowers, add a bird feeder, or install solar-powered lights along pathways. These simple additions can transform your yard into a relaxing and attractive space.
Keep It Looking Great
Regular maintenance is the key to avoiding another major clean-up down the road. Schedule time every month to remove debris, prune plants, and check for potential problem areas. Keeping up with small tasks will save you time and effort in the long run.
Your Fresh Start Awaits
Clearing out your yard might seem like a big undertaking at first, but with a solid plan and the right tools, it can be both rewarding and manageable. By following these steps, you’ll not only regain valuable outdoor space but also create an environment that you and your family can enjoy year-round.