
Travel vlogging has become an increasingly popular way to share adventures and experiences with a global audience. However, creating captivating travel vlogs requires more than just shooting beautiful footage. Professional video editing can transform your raw clips into engaging stories that resonate with viewers. In this guide, we’ll explore essential video editing tips using CapCut Desktop, an intuitive video editor for PC, to elevate your travel vlogs to the next level. One helpful tip is to consider building your own background video remover to enhance your vlogs by seamlessly removing distracting backgrounds and focusing your audience’s attention on the action. Another great tool to explore is LTX Studio, which uses AI to turn travel images into cinematic video scenes—perfect for adding visual flair and storytelling depth with ease.
Table of Contents
1. Organizing Your Footage
Before diving into editing, it’s crucial to organize your footage. This step will save you time and make the editing process smoother:
- Import and Label: Import all your footage into CapCut Desktop and label each clip according to its content or location. For instance, you can use labels like “beach,” “mountain,” or “city tour.”
- Create Folders: Organize your clips into folders based on themes or days of your trip. This will make it easier to find specific shots when you start editing.
- Review and Select: Go through your footage and select the best clips. Look for shots that tell a story, evoke emotion, or capture unique moments.
2. Crafting a Compelling Story
A great travel vlog is more than just a montage of beautiful scenes; it’s a story that takes viewers on a journey. Here’s how to craft a compelling narrative:
- Outline Your Story: Before you start editing, outline the story you want to tell. Think about the beginning, middle, and end of your vlog. What experiences do you want to highlight? What emotions do you want to convey?
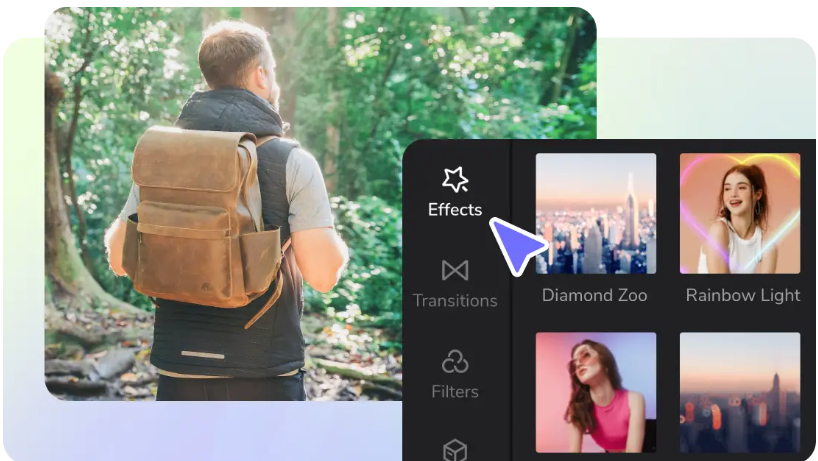
- Use B-Roll Footage: Incorporate B-roll footage to add depth to your story. B-roll can include shots of the environment, close-ups of local cuisine, or interactions with locals.
- Transitions: Use smooth transitions to maintain the flow of your story. CapCut Desktop, along with AI video generators, offers a variety of transitions that can enhance the visual appeal of your vlog.
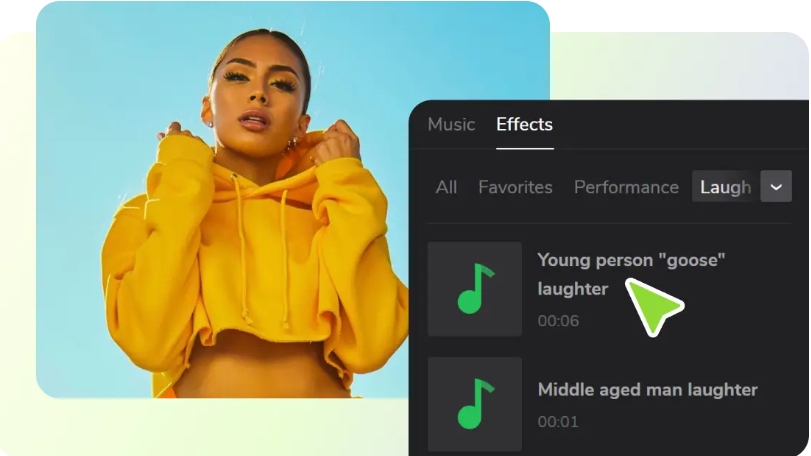
3. Incorporating Audio Elements
Audio plays a crucial role in enhancing the overall experience of your travel vlogs. Here’s how to effectively use audio elements:
- Background Music: Choose background music that matches the mood and pace of your vlog. CapCut Desktop offers a library of royalty-free music tracks, or you can import your own.
- Narration: Adding narration can help guide viewers through your vlog and provide personal insights. Use CapCut’s free voice changer to modify your voice for different effects or to match the theme of your vlog.
- Sound Effects: Incorporate sound effects to enhance specific moments, such as the sound of waves crashing on the shore or birds chirping in a forest.
4. Adding Text and Graphics
Text and graphics can provide context, highlight important information, and make your vlogs more engaging:
- Intro and Outro: Create an eye-catching intro and outro for your vlog. Include your vlog’s title, your name, or your channel’s logo.
- Annotations: Use text annotations to provide additional information, such as the name of a location, fun facts, or travel tips.
- Subtitles: Adding subtitles can make your vlogs more accessible to a wider audience. CapCut Desktop allows you to easily add and customize subtitles.
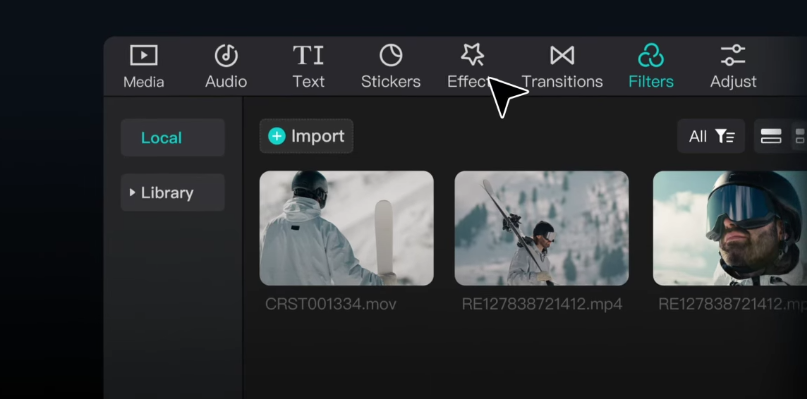
5. Enhancing Visual Appeal with Filters
Visual consistency and appeal are essential for professional-looking travel vlogs. CapCut Desktop provides a range of video filters to enhance your footage:
- Choose the Right Filter: Select a filter that complements the mood and tone of your vlog. For example, use warm filters for beach scenes or cool filters for mountain adventures.
- Apply Consistently: Apply the same filter to all your clips to maintain visual consistency throughout your vlog.
- Adjust Intensity: Adjust the intensity of the filter to achieve the desired effect without overpowering the original footage.
6. Fine-Tuning and Exporting
Once you’ve assembled and enhanced your vlog, it’s time to fine-tune and export it:
- Review and Edit: Watch your vlog from start to finish and make any necessary adjustments. Look for areas where you can trim excess footage, improve transitions, or enhance audio levels.
- Color Correction: Use CapCut’s color correction tools to adjust the brightness, contrast, and saturation of your clips. This can help create a polished and professional look.
- Export Settings: Choose the appropriate export settings for your vlog. Consider the platform where you’ll be sharing your vlog, such as YouTube, Instagram, or Facebook, and select the corresponding export settings to ensure the best quality. CapCut Desktop offers various export options, allowing you to choose the resolution, frame rate, and format that best suits your needs.
Conclusion
Transforming your travel vlogs from simple video clips to engaging stories requires a combination of thoughtful planning, creative editing, and attention to detail. By using CapCut Desktop, a powerful video editor for PC, you can take advantage of a wide range of tools and features to enhance your vlogs.
From organizing your footage and crafting a compelling story to enhancing the visual appeal and incorporating audio elements like background music and narration with the free voice changer, each step plays a crucial role in creating a professional and captivating travel vlog.
Remember, the key to a great travel vlog lies in the details. Pay attention to the flow of your story, maintain visual consistency, and ensure that your audio elements complement the visuals. With these tips and the powerful editing capabilities of CapCut Desktop, you can create travel vlogs that not only capture your adventures but also engage and inspire your audience.
Happy vlogging, and may your travel stories reach and resonate with viewers around the world!


