



A home cooling upgrade is easier to manage when it begins with an assessment instead of a rushed equipment decision. Whether the current unit is aging, noisy, unreliable, or unable to keep rooms comfortable, planning an air conditioning installation around the home’s actual needs can help avoid common comfort and performance problems.
Age alone does not mean a system must be replaced. However, recurring repairs, rising utility bills, inconsistent temperatures, excess indoor humidity, and difficulty keeping up during very hot weather are all practical reasons to review the condition of the equipment and the home around it.
Table of Contents
- 1 Start With the Reason for the Upgrade
- 2 Check the Home Before Choosing Equipment
- 3 Why Proper Sizing Matters
- 4 Compare Cooling System Options
- 5 Read Efficiency Ratings With Care
- 6 Review Installation Quality and Project Scope
- 7 Choose the Right Time for the Project
- 8 Test the System Before the Project Ends
- 9 Conclusion
Start With the Reason for the Upgrade
Before comparing models or efficiency ratings, document what is not working well. A clear list of problems helps distinguish an equipment issue from a duct, insulation, thermostat, or airflow issue. For example, one hot bedroom may not mean the entire system lacks capacity if that room has poor return airflow or intense afternoon sun.
Useful questions include: Does every room cool evenly? How often has the system required repair? Are replacement parts still readily available? Does the unit run for unusually long periods? Has energy use increased even though household habits have stayed about the same?
Homeowners considering broader air conditioning decisions should look at cooling as a complete system rather than treating the outdoor unit as the only factor. The equipment, indoor coil, blower, ducts, controls, and building envelope must work together.
Check the Home Before Choosing Equipment
An air conditioner removes heat and moisture from indoor air, but the amount of work it must do depends on the house. Attic insulation, window direction, ceiling height, exterior shading, occupancy, appliances, and air leakage can all change cooling demand. The Department of Energy notes that insulation, efficient windows and doors, shading, and ventilation strategies can reduce the energy needed to cool a home in many climates.
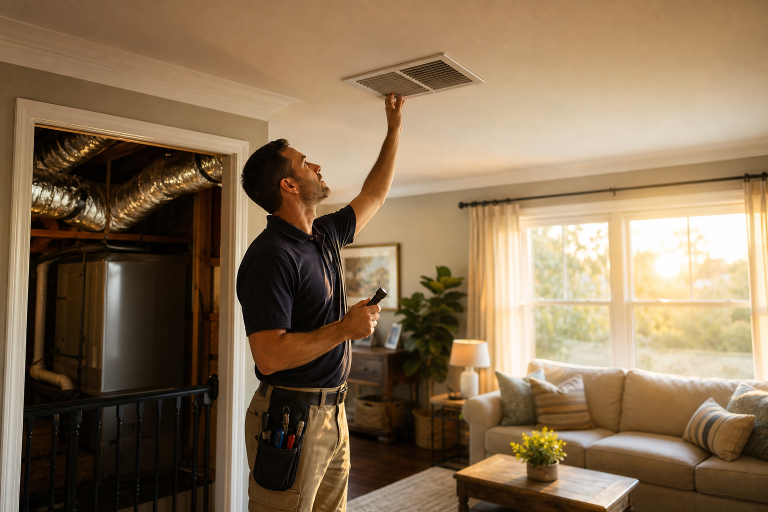
Review these areas before selecting a replacement system:
- Attic insulation levels and ventilation.
- Duct leaks, damaged insulation, disconnected runs, or crushed flexible ducts.
- Drafts around windows, exterior doors, attic hatches, and utility penetrations.
- Rooms exposed to strong late-day sunlight.
- Blocked, undersized, or poorly located return-air grilles.
- Electrical panel capacity, available circuits, and the condition of disconnects.
Why Proper Sizing Matters
Bigger is not automatically better. An oversized unit can cool the air quickly and shut off before it removes sufficient humidity. That short cycling can leave rooms feeling clammy, create uneven comfort, and increase equipment wear. An undersized system may run for long stretches and still fail to reach the thermostat setting during the hottest conditions.
A professional load calculation is more useful than selecting capacity by square footage alone. It accounts for conditioned floor area, insulation, windows, ceiling height, local climate, air leakage, internal heat sources, and duct conditions. Properly designed and sized equipment should reflect the home’s real characteristics rather than a simple rule of thumb.
Compare Cooling System Options
The right system depends on the home’s layout, existing equipment, duct condition, and heating needs. There is no single best option for every property.
- Central air systems: These distribute cooled air through ductwork and can provide whole-home cooling when ducts are usable and properly designed.
- Ductless mini-split systems: These use individual indoor units for room-by-room control and can suit additions, converted spaces, or homes without ducts.
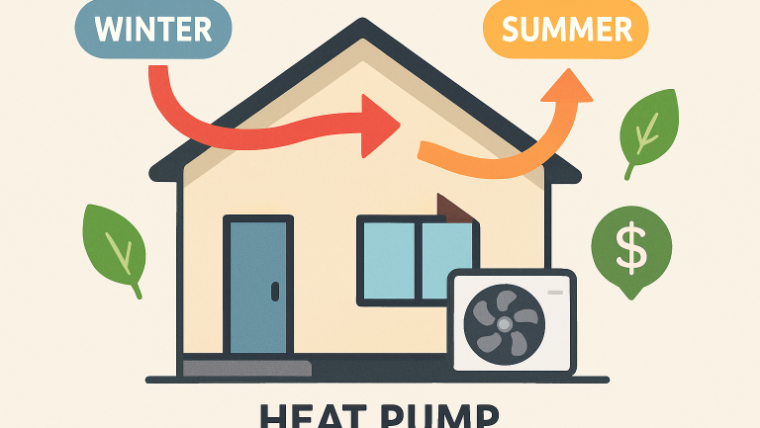
- Heat pumps: These can provide cooling in warm weather and heating in cooler weather, making them worth considering when both systems are being evaluated.
- Room units: Window or portable units can provide spot cooling for small areas when a whole-home project is not practical.
Read Efficiency Ratings With Care
SEER2 and EER2 ratings are useful comparison tools, but they do not guarantee a specific utility bill. Higher ratings generally indicate the potential for lower energy use under standardized test conditions. Actual results also depend on sizing, duct leakage, thermostat settings, maintenance, local weather, and how the system is installed.
It is often sensible to address major air leaks and duct deficiencies before expecting a high-efficiency system to solve every comfort concern. A well-sealed home and balanced duct system can help any properly selected unit deliver more consistent results.
Review Installation Quality and Project Scope
Installation involves more than replacing an outdoor cabinet. A complete project may require matching the indoor and outdoor components, inspecting refrigerant lines, making electrical connections, routing condensate drainage, adjusting ducts, configuring the thermostat, and testing the system after startup.
Details to Confirm in Writing
- Equipment model numbers, capacity, and listed efficiency ratings.
- Whether the indoor coil and outdoor unit are approved as a matched system.
- Any duct sealing, repairs, resizing, or insulation work.
- Electrical modifications, permits, inspections, and code responsibilities.
- Refrigerant charge and airflow testing procedures.
- Old equipment removal, cleanup, warranty coverage, payment terms, and timeline.
Choose the Right Time for the Project
Waiting for a breakdown during a heat wave can limit choices and create unnecessary stress. Planning several months before the heavy cooling season gives homeowners more time to review repair history, compare written estimates, complete home improvements, and schedule work around household needs.
A practical sequence is to assess the current system first, request a load calculation and duct inspection, compare project scopes rather than only final prices, and then confirm access to indoor equipment, the electrical panel, and the outdoor work area before installation day.
Test the System Before the Project Ends
The final walkthrough should include a complete cooling cycle. Confirm that the thermostat operates correctly, supply vents provide steady airflow, drainage is working, and there are no unusual sounds, vibration, or visible water near indoor equipment. Ask for operating instructions, filter guidance, model numbers, manuals, invoices, and warranty documents before closing out the project.
Conclusion
A successful home air-conditioning upgrade starts with understanding the house, not simply choosing the largest or highest-rated unit. Careful sizing, realistic equipment comparisons, duct and insulation reviews, clear estimates, and final performance testing can help homeowners make a more informed decision and improve long-term comfort.